13 Vintage DIY Halloween Décor Ideas For Autumn Season

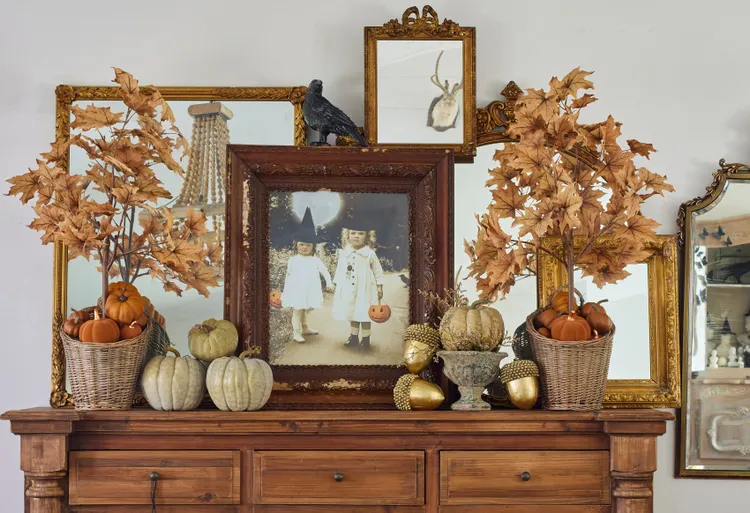
Some Halloween decorations look better with a little age on them.
Faded colors, old-fashioned faces, worn frames, and dusty-looking props can make a room seem like it has celebrated Halloween for generations.
That old-school look is one I keep coming back to when decorating for October.
A thrifted frame, an aged Halloween print, or a black candlestick can become the starting point for an entire display.
You don’t need genuine antiques to capture the mood. A few clever touches can give ordinary pieces the charm of decorations pulled from an old attic.
Here are 13 vintage DIY Halloween décor ideas to bring that nostalgic spirit into your home.
EXPLORE MORE: 13 Spooky Halloween Front Porch Ideas You Can DIY
Retro Halloween Decorations
1. Create a Haunting Display with Antique Mirrors
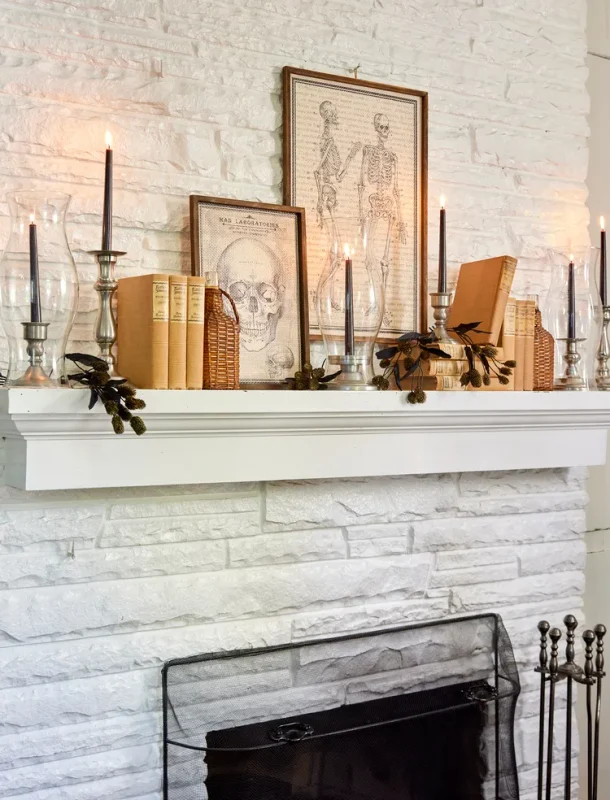
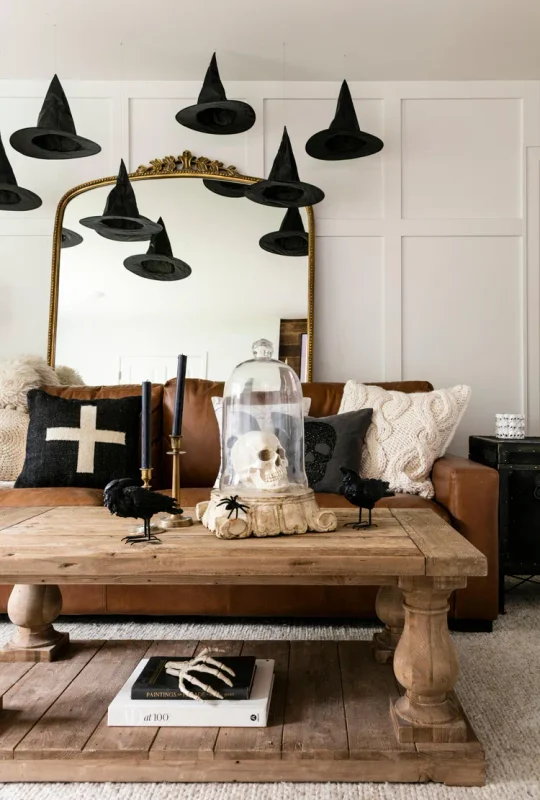
An old mirror can make a Halloween display look as though it belongs in a forgotten house.
Look for one with a worn frame, cloudy glass, or an ornate shape that already has some age to it.
Lean the mirror against a wall or hang it above a dark console table. A few black candles nearby can deepen the old-fashioned atmosphere when their flickering light catches the glass.
For an extra creepy touch, place a faded Halloween portrait where its reflection appears in the mirror.
I’ve used old frames in seasonal displays before, and slightly imperfect pieces always give the arrangement a less store-bought appearance.
Keep the rest of the table simple. The mirror itself has enough presence to carry the display.
Pro Tip: Wipe only part of the mirror clean if you want an aged appearance. Leave a few cloudy areas around the edges for an antique finish.
2. Display Orange Honeycomb Pumpkins
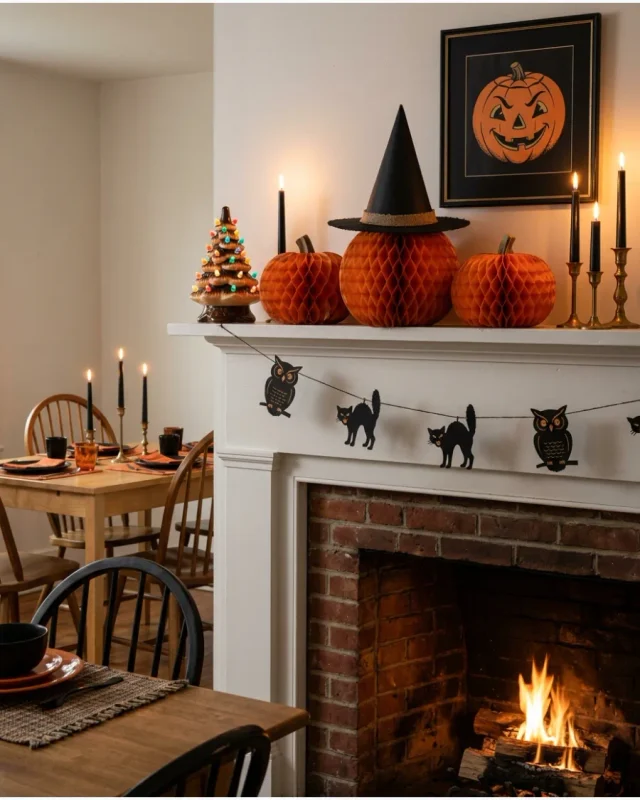
Orange honeycomb pumpkins bring back the cheerful paper decorations that were common at old Halloween parties.
Their folded construction gives them a playful look that fits nicely with vintage-inspired decorating.
Open several pumpkins and place them across a mantel, shelf, or party table. Keep the arrangement low so the unusual paper shapes remain easy to see.
I remember seeing similar paper decorations at childhood parties, and that connection makes them fun to bring back for Halloween.
Pairing them with old Halloween prints or black candlesticks can push the nostalgic mood further.
They also fold flat after the season, which makes them practical for anyone with limited storage space.
Pro Tip: Mix one large honeycomb pumpkin with smaller ones. The different sizes make a simple tabletop display look collected over time.
3. Decorate the Walls with Oversized Black Cats
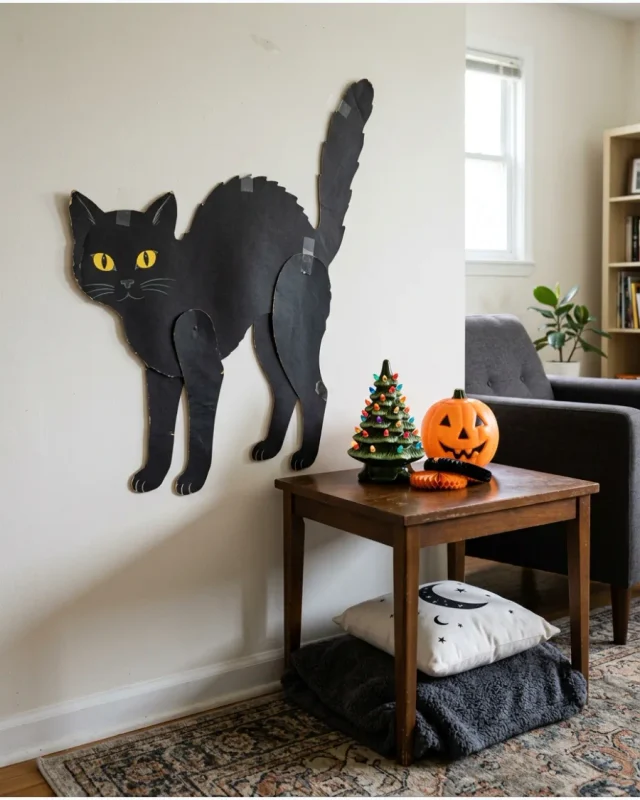
A giant black cat silhouette can give an empty wall that classic Halloween look seen on old greeting cards and decorations.
The pointed ears and curved tail do most of the decorating for you.
Cut the shape from black cardboard or use a ready-made wall decoration.
Position the cat near a doorway, staircase, or mantel where its silhouette has plenty of room around it.
For a vintage effect, choose a cat with an arched back and long curling tail.
Those old-fashioned shapes have a charming theatrical quality that modern cartoon-style decorations sometimes miss.
I’ve always noticed how quickly a large silhouette changes a plain wall.
You need very little around it, which keeps the display from turning into a collection of unrelated Halloween pieces.
Pro Tip: Give the cat bright paper eyes. Two small yellow circles can make a large black silhouette look wonderfully mischievous after dark.
4. Style Vignettes with Old Apothecary Bottles
Old apothecary bottles are perfect for a Halloween display that leans mysterious instead of playful.
Amber glass, dark labels, and unusual bottle shapes can make a shelf look like an old cabinet of curiosities.
Gather a few bottles on a wooden tray or small side table. Add handwritten labels with names such as “Bat Wing Tonic” for a little theatrical fun.
Thrift stores and flea markets can be useful hunting grounds for bottles with the right shape.
Even newer glass pieces can take on an older appearance when you replace their labels with aged paper.
Keep the grouping compact. A small collection looks like something discovered in an old cabinet instead of a row of decorations bought together.
Pro Tip: Tear the edges of your labels before attaching them. A little unevenness makes the paper look much older than a perfectly cut rectangle.
5. Embrace Nostalgia with Childhood Halloween Décor
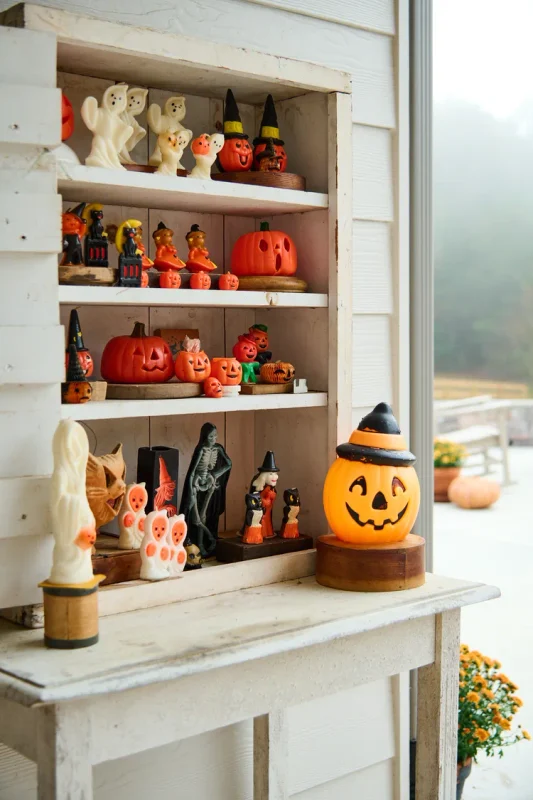
Digging through an old Halloween decoration box can uncover some of the most charming pieces for a vintage display.
Paper pumpkins, smiling witches, cardboard cats, and faded plastic figures can bring back the Halloween style many people remember from childhood.
Give those older pieces a place on a mantel, bookshelf, or entryway table.
Let a few decorations sit slightly apart instead of arranging everything into a perfect display.
Some of my favorite seasonal pieces are the ones that have survived several Halloween seasons.
Their faded colors and little imperfections tell a story that brand-new decorations simply cannot copy.
Add one or two newer pieces if the old collection needs filling out. Keeping the older decorations as the main attraction preserves the nostalgic character.
Pro Tip: Frame a vintage Halloween card or paper decoration instead of taping it directly to the wall. The frame protects it and makes the piece look like part of a collected display.
6. Hang Cheerful Pumpkin-Face Cutouts
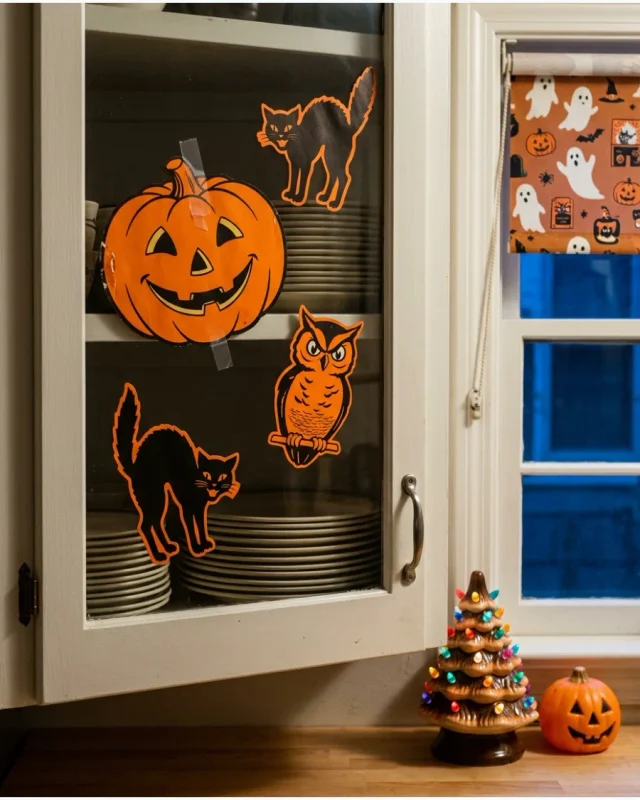
Those classic pumpkin faces with wide smiles and triangle eyes have a charm that never really goes out of style.
Paper cutouts are an easy way to bring that cheerful Halloween look to parts of the house that might otherwise get overlooked.
Line them across a doorway, scatter them across windows, or tuck a few between the panels of kitchen cabinets.
Orange paper with black features keeps the display close to the traditional Halloween colors.
For a vintage touch, look for slightly faded shades of orange instead of bright neon tones.
A few uneven faces also make the arrangement resemble old party decorations pulled from a storage box.
Pro Tip: Give each pumpkin a different expression. A mix of goofy grins and surprised faces feels much closer to an old-fashioned Halloween party.
7. Use Accordion-Folded Paper to Create Standing Witches
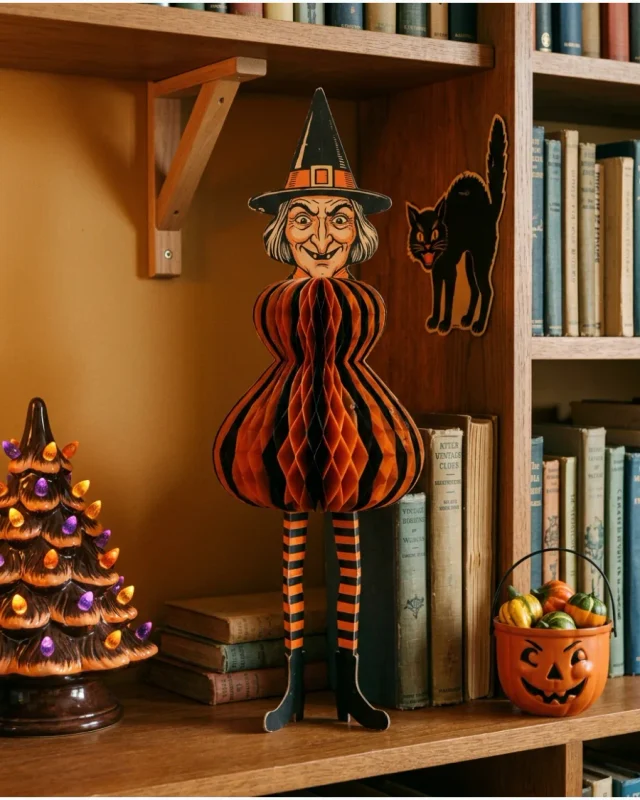
Accordion-folded paper makes wonderfully simple Halloween figures.
Black and orange sheets can be folded into sturdy bodies, then topped with pointed hats and paper faces.
Set the witches on a mantel, shelf, or sideboard where their folded shapes can stand upright.
Keep the designs simple so the paper construction remains part of their charm.
The technique reminds me of the paper decorations found at old school Halloween parties.
A slightly uneven fold can actually make the figures look handmade, which suits a nostalgic decorating scheme.
Try giving one witch a crooked hat or a funny expression. Those small imperfections keep the group from looking too uniform.
Pro Tip: Use heavier cardstock for the body. It holds the accordion folds better and keeps the witches standing throughout the season.
8. Include a Vintage Halloween Postcard Gallery
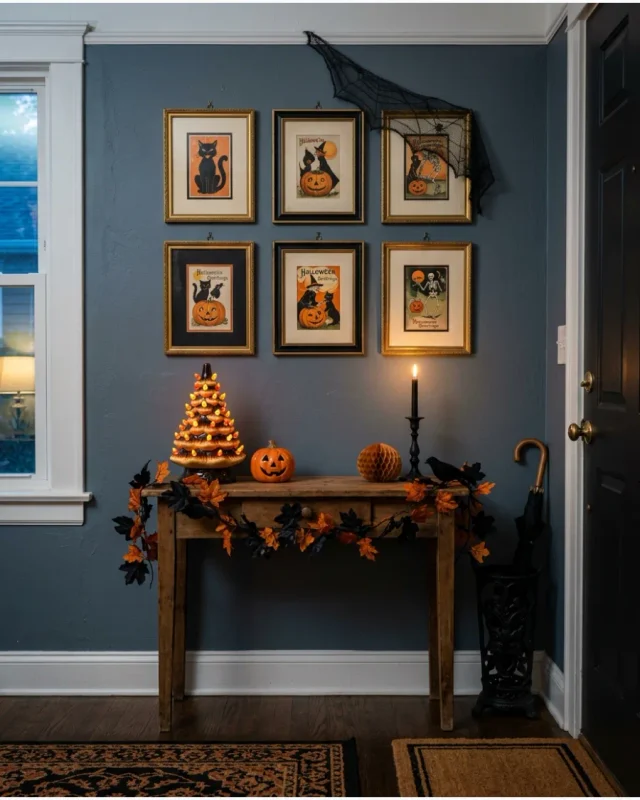
Old Halloween postcards can turn a blank wall into a little piece of seasonal history.
Look for artwork featuring black cats, smiling pumpkins, witches, or children in old-fashioned costumes.
Arrange the postcards in simple frames and hang them together above a console, mantel, or hallway table.
Keep the frames similar in color so the artwork remains the main attraction.
Most of us like the character found in old printed Halloween artwork.
The expressions, lettering, and muted colors have a charm that is difficult to recreate with modern graphics.
You can use reproductions if original postcards are too delicate or expensive.
Aged-looking copies still capture the mood while making the display easier to handle.
Pro Tip: Leave a little space between each frame. A tightly packed gallery can make the individual postcard designs harder to appreciate.
9. Create an Old-Fashioned Garland
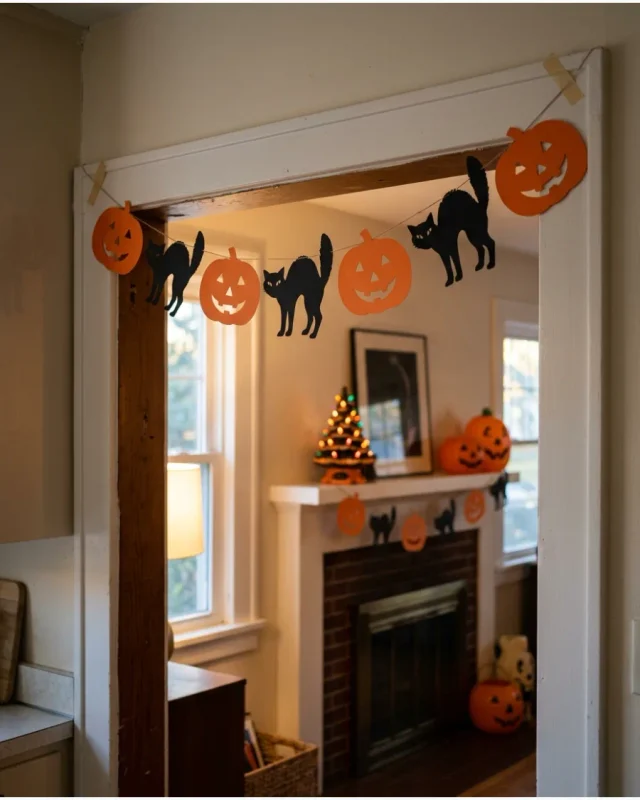
Paper garlands were a Halloween staple long before elaborate seasonal displays became popular.
Bring back that simple tradition with a strand of pumpkins, witches, black cats, or crescent moons.
Cut the shapes from construction paper and connect them with string. Hang the finished garland across a mantel, doorway, or dining room wall.
For a vintage appearance, choose muted orange and black paper.
Slightly uneven shapes also suit the handmade look, so there is no need to make every pumpkin perfectly identical.
A strand like this can stretch across a surprisingly large area with very little material. It also folds flat for storage once Halloween is over.
Pro Tip: Use a hole punch near the top of each shape instead of taping them to the string. The pieces will hang neatly and stay easy to rearrange.
10. Add Wide-Eyed Paper Owls
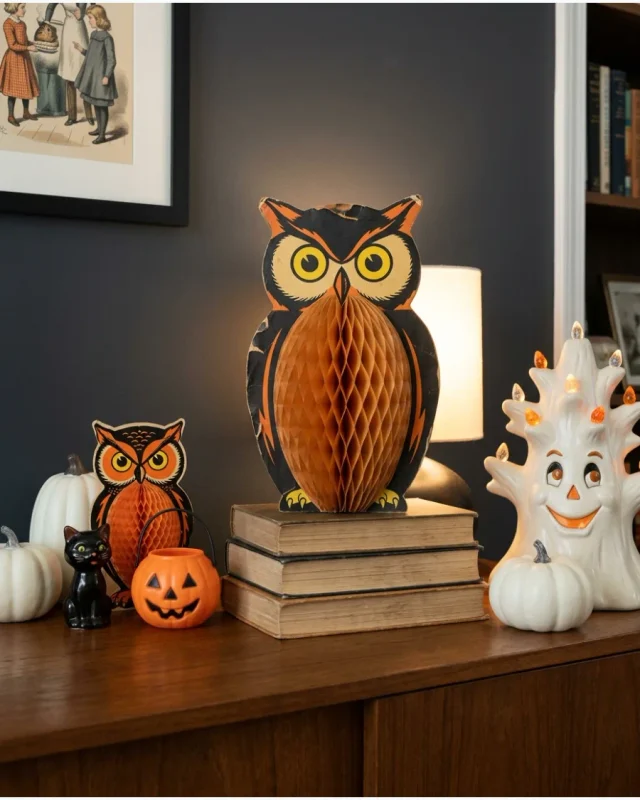
Wide-eyed paper owls bring a playful woodland touch to a vintage Halloween display.
Their oversized eyes and simple silhouettes look right at home among old books and seasonal curiosities.
Cut the owls from brown, black, or cream cardstock and give each one large circular eyes.
Place them between books on a shelf, lean them against a wall, or set one beside a candle on a tabletop.
The trick is to make the eyes large enough to carry the design. A simple body shape is all you need once those eyes are in place.
I’ve severally used paper cutouts in bookcase displays when a shelf needed a seasonal change, and small pieces like these can make the arrangement look completely different for October.
Pro Tip: Slightly bend the cardstock at the center before placing an owl on a shelf. The gentle curve gives the flat decoration a little dimension.