13 Ways To Paint Your Windows For Halloween This Year

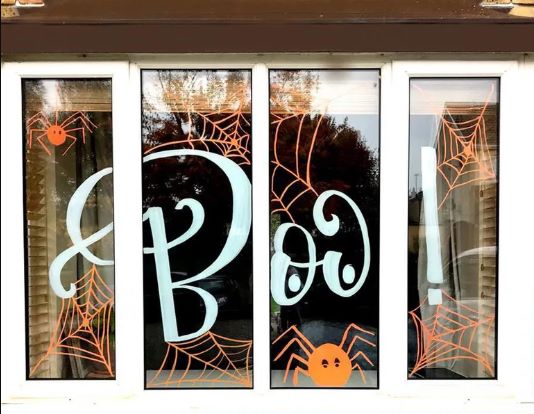
Halloween decorating usually starts with the front porch.
Well, when given me a paintbrush and a blank window, I’m ready to decorate.
Some years, I keep things simple with a ghost or two.
Other times?
I want bats, pumpkins, spiderwebs, and anything spooky enough to catch someone’s eye from the sidewalk.
The best part is that you don’t need to be an artist.
A few simple shapes can turn an ordinary window into a Halloween scene that looks playful.
Here are 13 DIY Halloween window painting ideas to try this season.
DONT MISS:13 DIY Halloween Wreath Ideas For A Front Door
10 Easy DIY Halloween Window Painting Ideas
1. Jack-O’-Lantern Faces on Windows
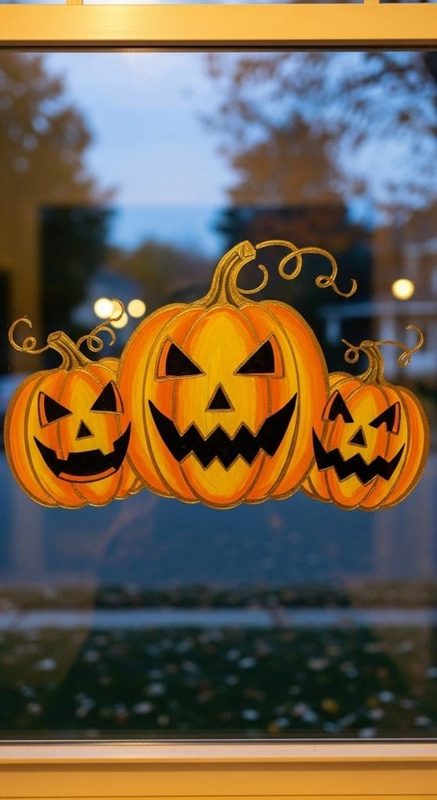
Jack-o’-lantern faces are an easy way to turn a plain window into a cheerful Halloween display.
Paint several faces across the glass, mixing classic grins with crooked smiles, triangle eyes, and goofy expressions.
You can make each pumpkin different so the window looks like a little gathering of characters instead of one repeated pattern.
Orange paint gives the faces that familiar pumpkin look, while black works nicely for the eyes and mouths.
For a fun nighttime effect, place a lamp behind the window so the painted faces stand out after dark.
Pro Tip: Sketch each face on paper first, especially when painting several windows, so you can test different expressions before touching the glass.
2. A Bespoke Message Using a Message Board
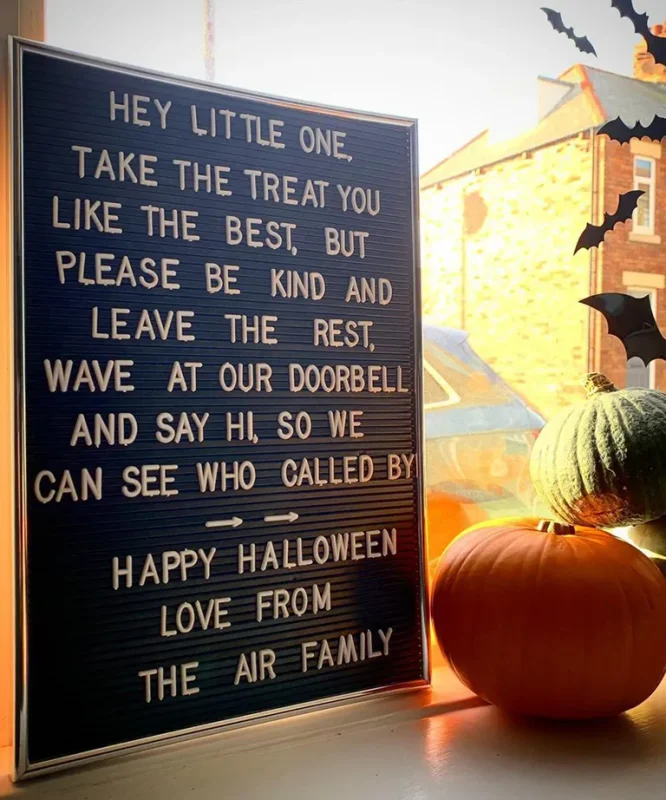
Give your Halloween window a little personality with a custom message that makes people stop and read.
A small message board can sit behind the glass, or you can paint the lettering directly onto the window for a cleaner display.
Try something playful like “Enter If You Dare” or write a family joke that makes the decoration feel personal.
Surround the message with tiny ghosts, bats, stars, or curling spiderwebs to fill the empty space around the words.
Pro Tip: Use large lettering with plenty of spacing so the message remains readable from the sidewalk.
3. Creepy Crawling Spiders
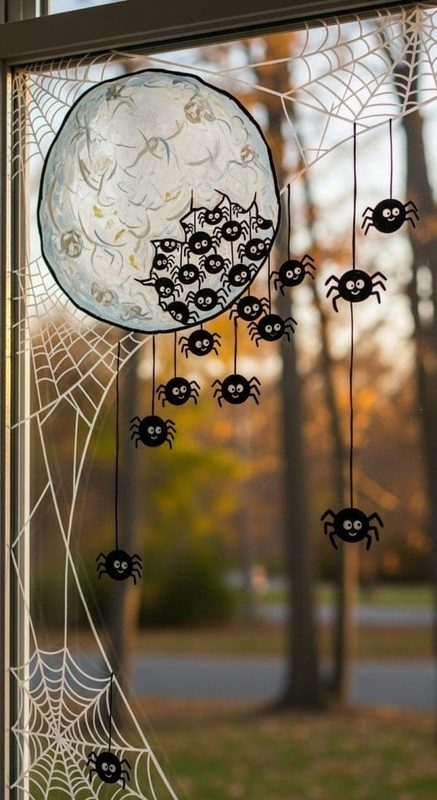
A few painted spiders crawling across the window can turn an ordinary pane of glass into something delightfully creepy.
Paint them at different sizes and place some near the corners, with others climbing toward the center.
Thin black legs make the spiders look convincing, even when the bodies are simple circles.
For an extra creepy touch, paint a few strands of web stretching between them and let one spider hang from the top.
Pro Tip: Keep the spider designs simple and use different angles so they look like they are actually moving across the glass.
4. Use of Bay Windows with Different Designs
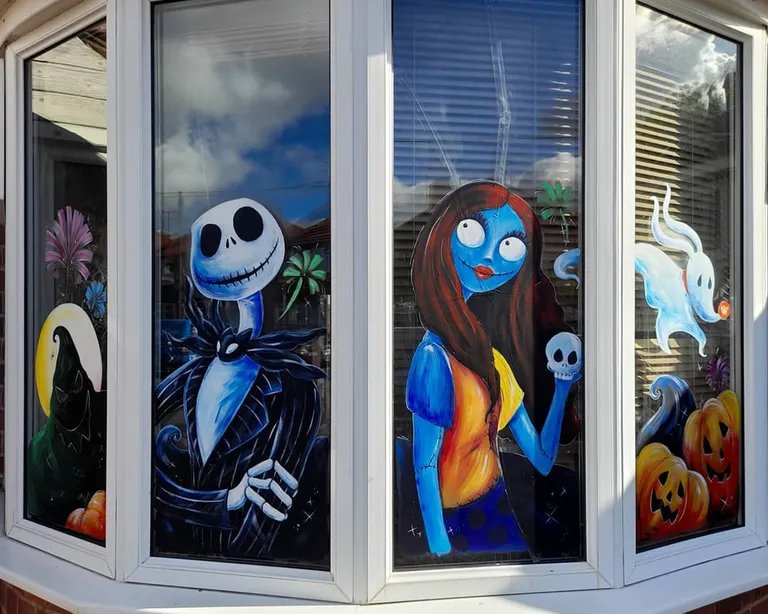
Bay windows give you several glass panels to play with, so each section can carry its own Halloween design.
One panel could feature a grinning ghost, another a cluster of bats, and the center section could hold a large pumpkin face.
This approach gives the window a little story as you move from one pane to the next.
Keep the designs connected through the same paint colors or small repeated details, such as stars or tiny webs.
Pro Tip: Paint the largest design on the widest pane and keep smaller drawings on the narrower sections.
5. Flying Bats in Motion
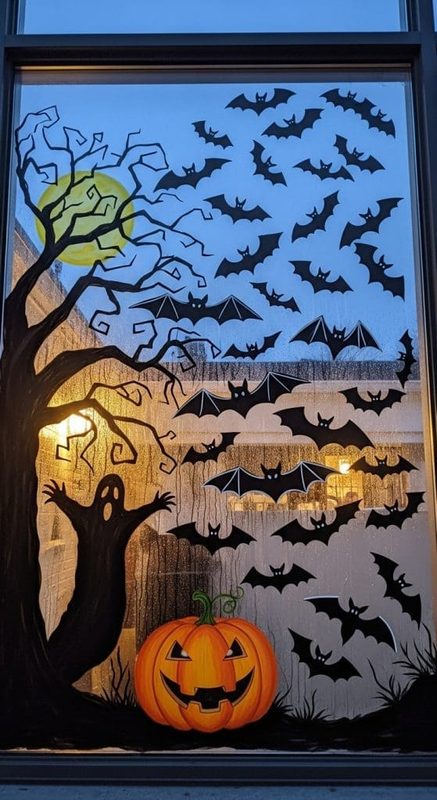
Flying bats can make a window painting look like a whole swarm is passing through the night.
Start with a few larger bats near one corner, then gradually shrink the shapes as they move across the glass.
Vary their wing positions so some appear to glide, flap, or turn in different directions.
Black paint gives you the classic Halloween look, while a few gray bats can break up a large group.
Pro Tip: Let the bats travel diagonally across the window instead of lining them up in a straight row.
6. Combine Paint Decor with Indoor Bunting and Lights
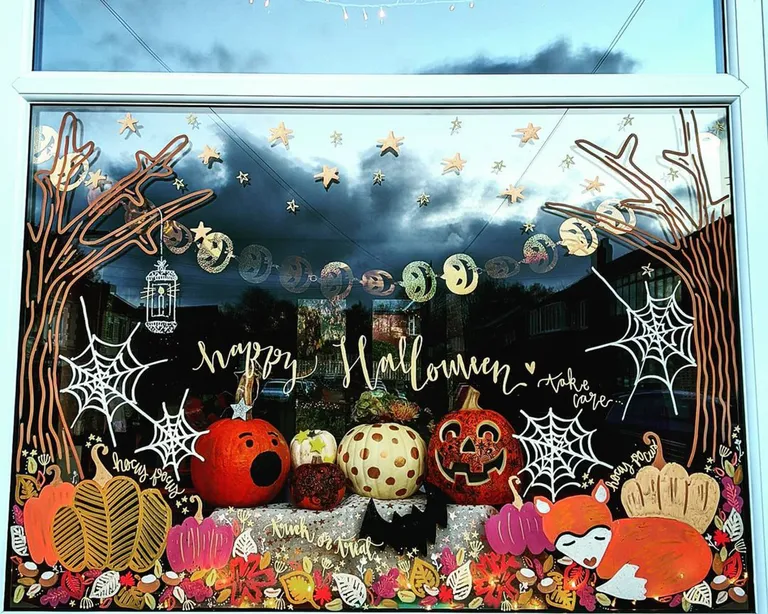
Painted windows can become even more festive when you bring a few indoor decorations into the scene.
Try painting simple ghosts, pumpkins, or bats directly onto the glass, then hang Halloween bunting across the top of the window.
A string of small lights can run along the sill or around the frame to finish the display.
Warm white lights give the artwork a softer nighttime appearance, while orange bulbs push the Halloween theme further.
Keep the painted designs fairly simple when the window already has several decorations around it.
Too many details can compete with the bunting and lights.
For a family room, colorful flags and silly painted faces can make the display playful.
A darker room gives the lights a stronger presence after sunset.
Pro Tip: Keep the lights behind or around the artwork instead of covering the painted sections, so the designs remain easy to see.
7. Mysterious Black Cat in the Window
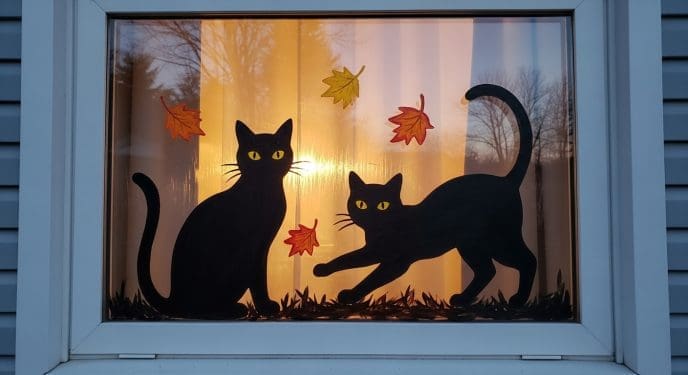
A black cat silhouette can give your Halloween window a little mystery with very little painting involved.
Paint the cat sitting on the windowsill, looking toward a crescent moon, or peeking through a cluster of spiderwebs.
You can keep the body as one solid black shape and use small white or yellow eyes for a striking detail.
For a playful version, give the cat an arched back and raised tail as though something outside has caught its attention.
A sitting cat with pointed ears looks great against a pale curtain or a brightly lit room.
You can also paint several small paw prints leading toward the main figure.
That little trail gives the design a story and makes the window fun to examine.
Keep the silhouette large enough to recognize from the street.
Small details tend to disappear once the room gets dark.
Pro Tip: Paint the eyes last and keep them slightly larger than you think you need for better visibility at night.
8. Haunted House Silhouette
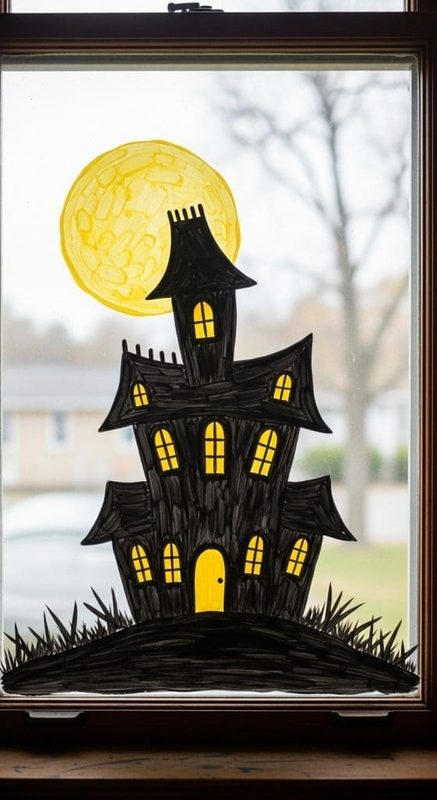
Turn the window into a tiny haunted neighborhood with a painted house silhouette surrounded by spooky details.
A crooked roof, tall windows, leaning chimney, and uneven fence can give the building plenty of character.
You do not need architectural precision here.
Simple geometric shapes are enough to suggest an old house sitting under a Halloween night sky.
Paint the house in black and leave some windows glowing with yellow or orange paint.
Add a bare tree beside the building, a crooked graveyard fence, or a few bats flying above the roof.
For a larger window, let the ground stretch across the bottom pane and build the house toward the center.
A crescent moon can fill the upper corner without taking attention away from the main silhouette.
The finished scene can look surprisingly detailed from a distance, even with simple shapes.
Pro Tip: Draw the complete scene on paper first, then mark the window frame so your house does not end up awkwardly split between panes.
9. Floating Ghost Friends Paints
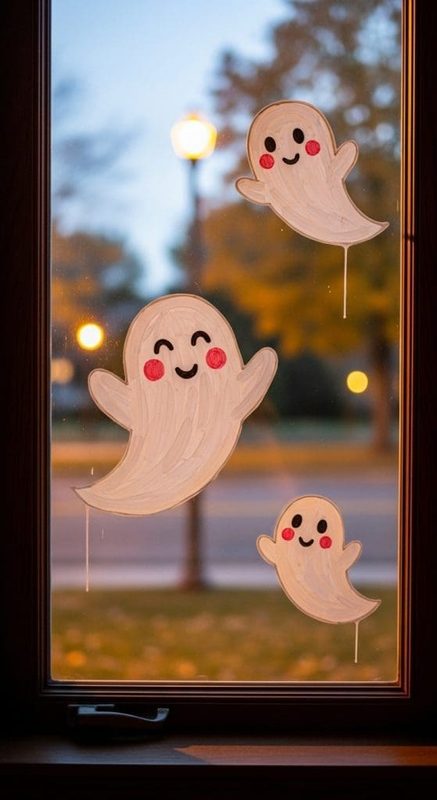
A group of floating ghosts can give your window a playful Halloween scene instead of making it look frightening.
Paint each ghost with a slightly different expression so they look like a little group of characters.
One might have wide eyes, another can wear a goofy grin, and a third could peek from behind the window frame.
White paint makes the ghost shapes stand out against darker surroundings.
Use black paint for their eyes and mouths, then add tiny orange bows, hats, or pumpkins if you want a little extra color.
Vary their sizes so the larger ghosts appear closer while smaller ones seem to float farther away.
You can also scatter tiny stars or wispy lines around them to suggest movement.
Leave plenty of clear glass between the characters so the window does not become difficult to read.
This idea works nicely in children’s rooms, family spaces, or front windows facing the street.
Pro Tip: Paint the ghosts at different angles so they look like they are floating instead of standing in a straight row.
10. Simple Slogan to Make Statement
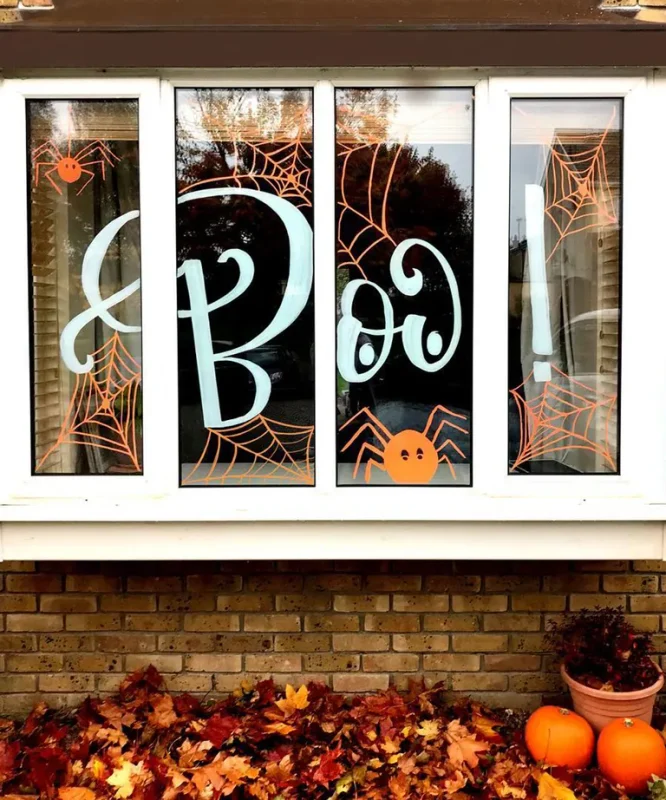
Sometimes a few words can carry an entire Halloween window display.
Choose a short slogan and paint it in large lettering across the glass.
“Boo!” is classic, but phrases like “Stay Spooky,” “Enter If You Dare,” or “Trick or Treat” can give the window a different personality.
You can decorate the lettering with small bats, stars, pumpkins, or spiderwebs around the edges.
A simple black-and-white design can look striking on a bright window.
Orange lettering brings a traditional Halloween touch, especially when paired with dark shapes around the words.
For a narrow window, stack the words vertically or use two short lines instead of squeezing everything into one row.
Take your time with spacing because uneven lettering becomes noticeable once the design is finished.
A ruler and light pencil marks can keep the letters aligned before you paint over them.
Pro Tip: Keep the slogan short enough to read from the sidewalk in a couple of seconds.
11. Classic Pumpkin Drawings and Ghost Design
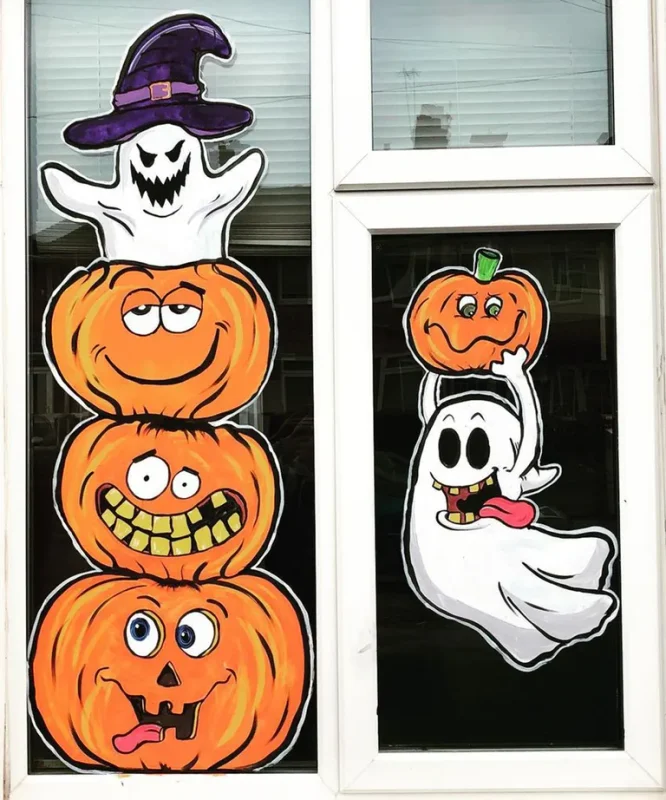
You cannot go wrong with the classic Halloween combination of pumpkins and ghosts.
Paint several pumpkins along the bottom of the window, then let a few friendly ghosts float above them.
Give the pumpkins different expressions instead of drawing the same jack-o’-lantern face repeatedly.
One can have a wide grin, another a surprised expression, and a smaller pumpkin can look slightly mischievous.
For the ghosts, simple white shapes with black eyes and mouths are enough to make them recognizable.
You can add tiny stars, bats, or wispy clouds to connect the characters across the glass.
Orange, black, and white keep the palette familiar and easy to coordinate with other decorations around the room.
A moon in the upper corner can give the scene a nighttime setting.
Keep the lower designs slightly larger so they remain visible from outside.
Pro Tip: Leave a little clear glass around each character so the pumpkins and ghosts do not blend into one crowded scene.
12. Mix and Match Stickers
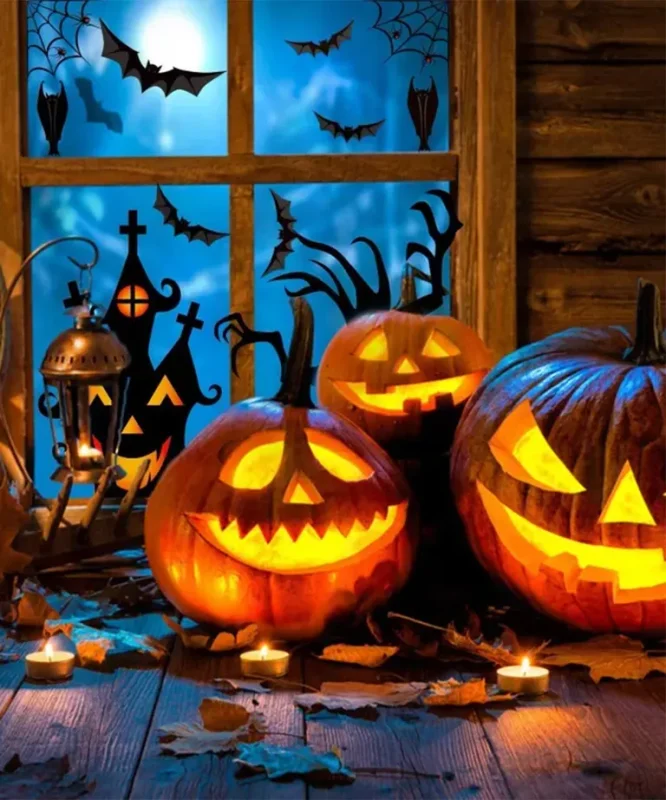
Not every Halloween window decoration needs to be painted from scratch.
Mixing painted designs with Halloween stickers gives you an easier way to build a detailed display.
Start with a few hand-painted elements, such as a large moon, pumpkin faces, or spiderwebs.
Then fill smaller empty areas with stickers shaped like bats, ghosts, spiders, stars, and skulls.
This combination can save time when you want plenty of detail across several windows.
It also gives children a chance to decorate alongside adults since stickers require less precision than painting.
Choose removable window stickers that are designed for glass so cleanup does not become a headache after Halloween.
You can repeat one sticker style across different windows to tie the decorations together.
For instance, small bats can travel from one painted scene into another.
Keep the largest painted design as the main attraction and use stickers to fill the supporting spaces.
Pro Tip: Apply stickers to clean, dry glass so they sit flat and are easier to remove when the season ends.
13. Moonlit Graveyard Scene
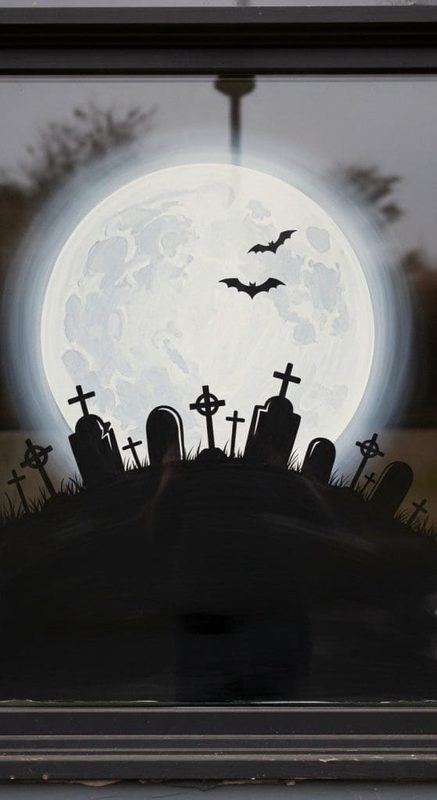
A moonlit graveyard can turn an entire window into a spooky Halloween landscape.
Start with a large crescent moon near the top corner and build the graveyard underneath it.
Paint crooked tombstones across the bottom, giving each one a slightly different shape.
A few leaning stones can make the scene look older.
Add a twisted tree with bare branches reaching toward the moon, then scatter small bats across the sky.
Black paint works for the silhouettes, while gray can separate the tombstones from the darker background.
For an eerie nighttime effect, paint a few pale clouds around the moon and leave small areas of glass uncovered.
The room behind the window can provide the glow that makes the moon and graveyard stand out after sunset.
You can even add tiny ghost shapes rising behind the tombstones for another layer of Halloween character.
Pro Tip: Keep the horizon low on the window so the graveyard has enough open sky for the moon, bats, and other details.
Final Thoughts
Halloween window painting gives you plenty of room to have fun with simple designs.
You can keep things cute with friendly ghosts and pumpkins or go darker with spiders and haunted graveyards.
The best designs often come from playing around with shapes, expressions, and placement.
Grab some washable paint, choose a window, and let your Halloween creativity take over.