11 Easy DIY Thanksgiving Classroom Crafts Ideas For Kids (2nd-5th Grade)

Disclosure: This post may contain affiliate links. As an Amazon Associate, I earn a small commission from qualifying purchases at no extra cost to you. Thanks.
Need a fun activity to keep the kids busy before Thanksgiving dinner party?
Set up a little craft station where they can create something special for the holiday.
Kids enjoy seeing their work displayed around the house, especially when family members admire their creations.
These projects suit classroom activities, family gatherings, or a quiet afternoon at home.
Most require affordable supplies with simple steps that children can follow.
In this guide, I’ll discuss 13 easy Thanksgiving crafts for kids that keep little hands busy throughout the holiday season.
Favorite Kid-Friendly Thanksgiving Crafts in School
1. Handprint Paper Turkey Craft
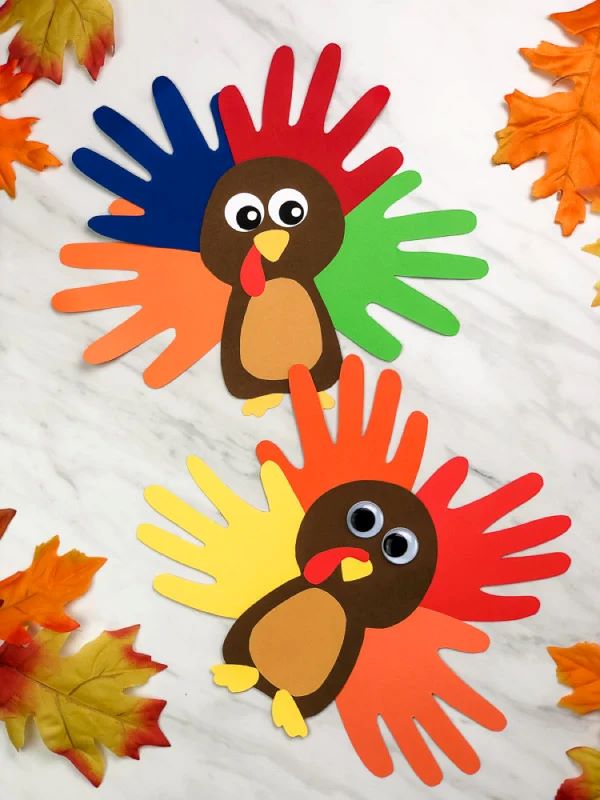
Turn little hands into adorable turkeys with this keepsake craft kids will love showing off.
Each child traces their hand onto colored paper to create the turkey’s feathers, then adds a body, beak, and tiny feet.
The finished artwork looks cute on the classroom wall.
It’s a fun way to let children get creative while making a holiday decoration that captures the size of their hands at this age.
Essential Supplies
- Colored cardstock or construction paper
- Wood-cased school pencil
- Scissors
- Glue stick
Instructions
- Have your child place one hand on colored paper and trace around it with a pencil.
- Cut out the handprint to create the turkey’s feathers.
- Draw and cut out a small oval for the body, plus a triangle for the beak and two feet.
- Glue the body onto the palm section of the handprint.
- Attach the beak and feet, then draw eyes with a pencil or marker.
- Add details such as colorful feather patterns or the child’s name and date.
Quick Tip: Use different paper colors for each finger to create a bright, layered turkey with distinct feathers.
2. Coffee Filter Turkeys
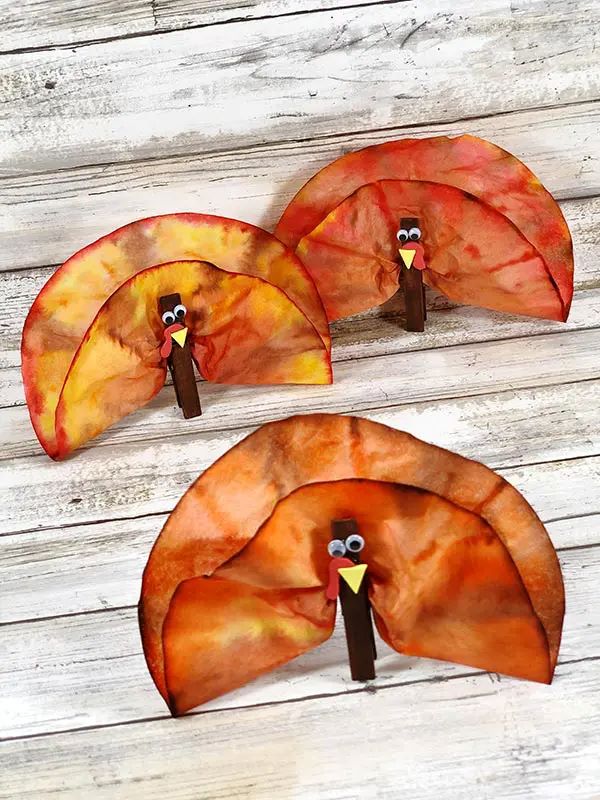
Watch plain coffee filters turn into colorful turkey feathers with a few strokes of washable markers.
Kids color the filters, spray them with water, then watch the colors blend into soft autumn patterns.
A wooden clothespin becomes the turkey’s body, complete with googly eyes and a little foam beak.
The finished turkeys look charming on a classroom display, giving kids a chance to experiment with color while creating their own feather designs.
Essential Supplies
- Wooden spring clothespins
- Round white coffee filters
- Assorted googly eyes
- Washable markers in brown, red, orange, and yellow
- Glue gun or liquid craft glue (I love this tacky craft glue)
- Brown acrylic craft paint
- Red and yellow craft foam
- Paintbrush
- Scissors
- Pencil
- Scrap of cardboard
- Non-stick craft mat
- Water spray bottle
Instructions
- Place a coffee filter on a non-stick craft mat and color it with washable markers in autumn shades.
- Lightly spray the filter with water until the colors begin to spread and blend.
- Leave the filter flat to dry completely.
- Paint a wooden clothespin brown, using the scrap cardboard as a work surface.
- Cut a small beak from yellow craft foam and a wattle from red foam.
- Glue the googly eyes, beak, and wattle onto the clothespin to create the turkey’s face.
- Clip the dried coffee filter into the clothespin to form the colorful feathers.
Quick Tip: Use a small amount of water at first; too much spray may cause the marker colors to run together and lose their definition.
3. Sponge Painted Turkey
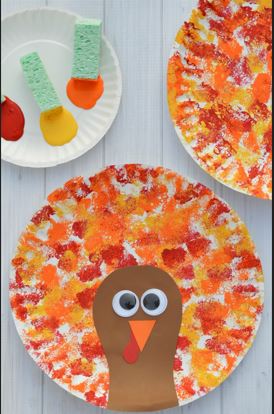
Give little artists a chance to create fluffy turkey feathers with nothing more than a sponge and colorful paint.
This classroom craft lets children dab paint onto paper to form a bright, textured turkey tail.
Once the paint dries, they add a paper body to finish their artwork.
The activity suits Thanksgiving art centers, giving students room to experiment with colors while creating decorations for the classroom bulletin board.
Essential Supplies
Instructions
- Pour small amounts of fall-colored paint onto a paper plate.
- Cut the sponge into manageable pieces for students to use.
- Have children dip the sponge into the paint, then dab colorful marks onto paper in a fan shape.
- Let the painted feathers dry completely.
- Draw and cut out a turkey body, head, beak, and feet from paper.
- Glue the body over the bottom of the painted feathers.
- Add eyes and other details to complete each turkey.
Quick Tip: Set out separate sponges for each paint color to help students keep their turkey feathers bright and distinct.
4. Fork Painted Turkey
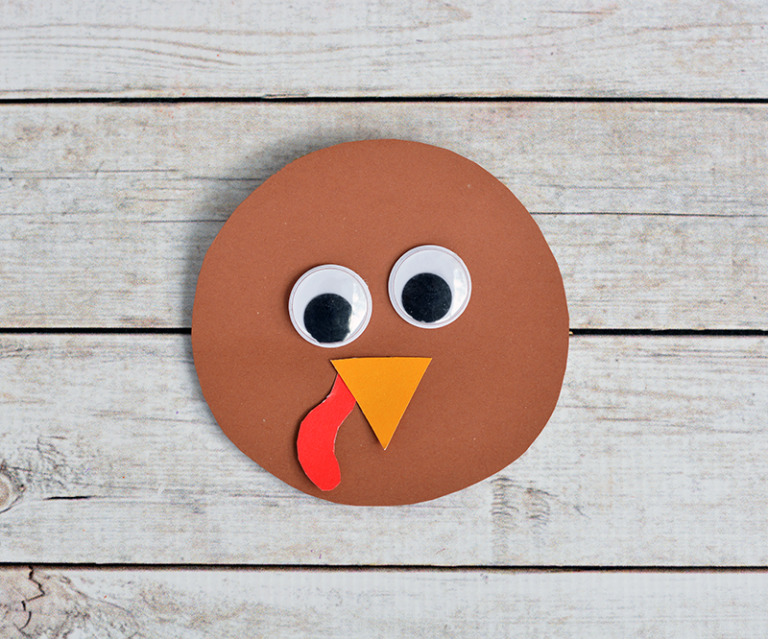
A plastic fork turns ordinary paint into feathery turkey art that stands out on a classroom display.
Kids dip the fork into different paint colors, then press it onto paper to create textured feathers.
Once the paint dries, they add a turkey body, googly eyes, and a beak.
This Thanksgiving craft introduces children to a fun painting technique while giving each student a chance to design a turkey with a personality of its own.
Essential Supplies
Instructions
- Pour small amounts of paint onto a paper plate.
- Show students how to dip the back of a plastic fork into the paint.
- Press the fork onto paper in a fan shape to create textured feathers.
- Repeat with different colors, then leave the paint to dry.
- Cut a turkey body, beak, and feet from cardstock.
- Glue the body over the bottom of the feathers.
- Add googly eyes, the beak, and feet to finish the turkey.
Quick Tip: Provide one plastic fork per paint color to reduce color mixing and keep classroom cleanup simple.
5. Footprint Art
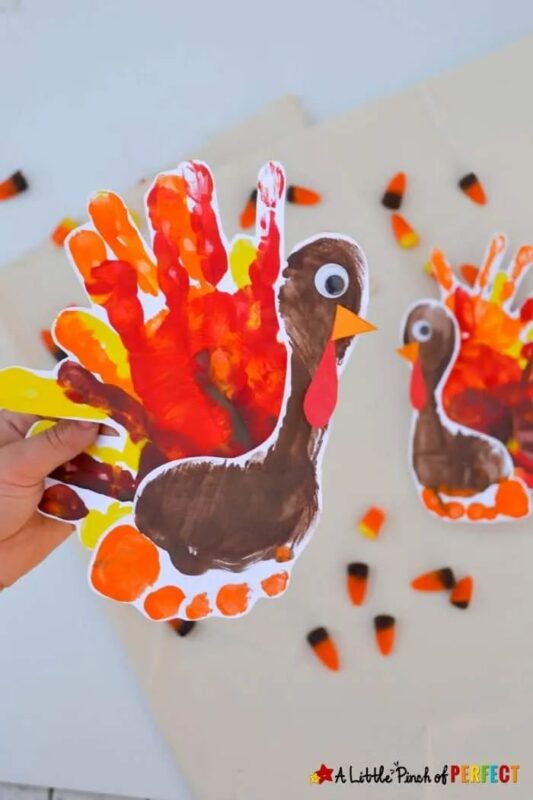
Turn tiny footprints into memorable Thanksgiving artwork that families will want to keep.
With washable paint, each child’s footprint becomes the turkey’s body, while paper cutouts add colorful feathers and facial details.
This activity suits preschool and kindergarten classrooms, where children enjoy seeing their own prints become recognizable pictures.
Teachers can display the finished turkeys on a bulletin board or send them home as a seasonal keepsake.
Essential Supplies
- Red, yellow, orange, and brown craft paint
- Paintbrushes
- Huggies® wipes
- Red and orange craft paper
- Googly eyes
- Scissors
- Glue sticks
Instructions
- Cover the work surface and prepare a sheet of craft paper for each child.
- Use a paintbrush to apply a thin layer of washable paint to the bottom of one foot.
- Help the child press their foot onto the paper, then lift it carefully.
- Clean the foot immediately with wipes and allow the print to dry.
- Cut feather shapes from red and orange paper.
- Glue the feathers behind the footprint, then add googly eyes and a small paper beak.
- Write each child’s name and date on the finished artwork.
Quick Tip: Keep a damp cloth and wipes nearby, and let children take turns so the painting area stays manageable.
6. Paper Bag Turkey Puppet Craft
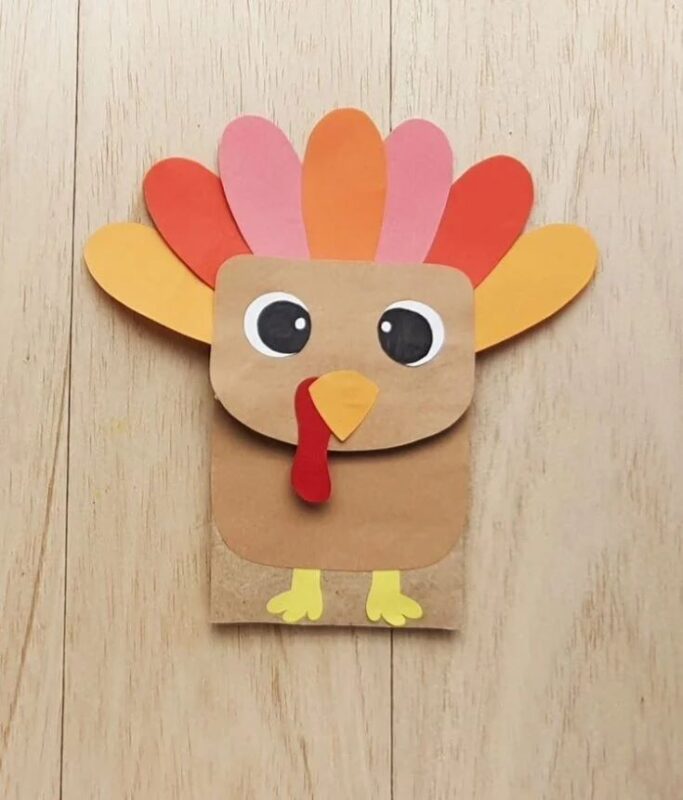
Give story time a Thanksgiving twist with turkey puppets children build themselves.
A simple paper bag becomes a character when kids add colorful paper feathers, a beak, and a funny face.
Once their puppets are ready, students can use them to act out Thanksgiving stories or share what they feel thankful for.
This craft combines art with imaginative play, making it a useful classroom activity for the holiday season.
Essential Supplies
- Colored craft paper in yellow, red, orange, brown, and pink
- Paper bags
- Craft glue
- Pencil
- Scissors
Instructions
- Place a paper bag flat with the folded flap facing upward.
- Cut a turkey body shape from brown paper and glue it onto the front of the bag.
- Cut feather shapes from yellow, red, and orange paper.
- Glue the feathers behind the body, spreading them into a fan, then cut a beak from yellow paper and a wattle from pink paper.
- Attach the facial pieces to the folded flap so they move when the puppet opens.
- Add paper eyes or draw them with a marker, then let the puppet dry before playtime.
Quick Tip: Prepare feather and facial-feature templates ahead of time to help younger students complete their puppets independently.
7. Thankful Turkey Craft
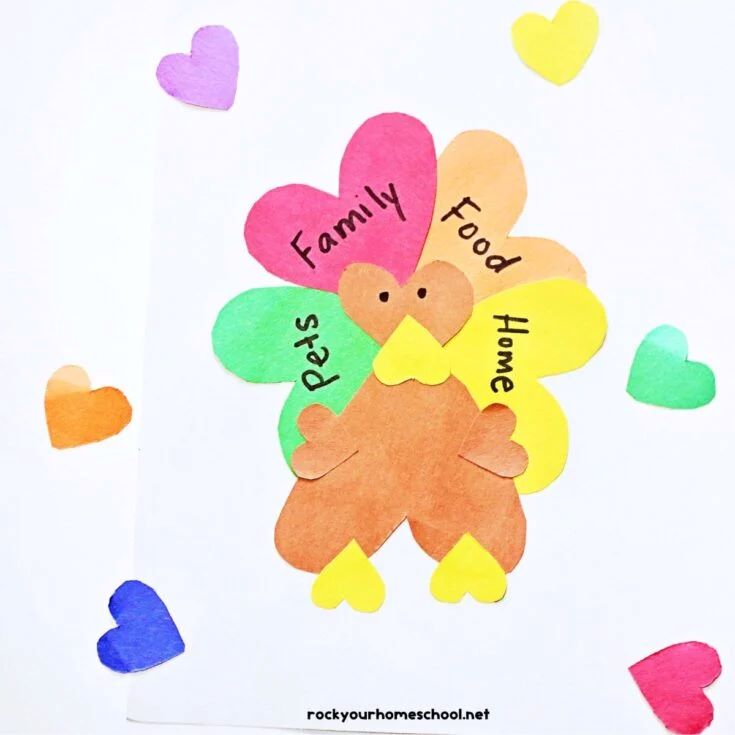
Help students turn gratitude into a colorful classroom display with this thankful turkey craft.
Each child creates a paper turkey, then adds a personal message to its feathers about something they appreciate.
The finished projects give classmates a chance to learn more about one another through simple, thoughtful responses.
Teachers can arrange the turkeys on a bulletin board for a festive display that reminds children what makes Thanksgiving meaningful.
Essential Supplies:
Instructions
- Cut a large turkey body from brown construction paper.
- Cut several feather shapes from different colors of construction paper.
- Glue the feathers behind the turkey’s body in a fan shape.
- Cut out a beak and feet, then attach them to the turkey.
- Ask each student to write one thing they are thankful for on each feather.
- Glue the feathers in place, then add the turkey’s eyes and other details.
- Display the finished turkeys on a classroom bulletin board.
Quick Tip: Give younger students sentence starters such as “I am thankful for…” to help them express their ideas.
8. Wood Slice Turkey Craft
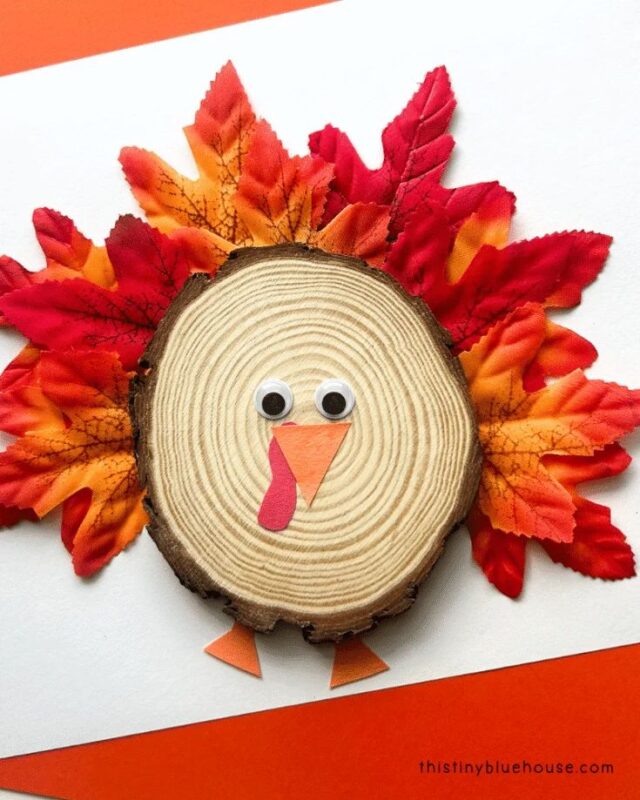
Give your classroom a rustic Thanksgiving decoration with these adorable wood slice turkeys.
Faux fall leaves form colorful tail feathers, while a few simple paper pieces bring each turkey to life.
Children will enjoy choosing their favorite leaf colors and arranging them into unique patterns.
The finished turkeys look lovely on classroom shelves or a seasonal display, though younger students will need help handling the wood slices.
Essential Supplies
- Medium wood slices
- Faux fall leaves in assorted colors
- Googly eyes
- Orange or red construction paper
- Scissors
- Glue sticks
Instructions
- Arrange several faux fall leaves behind a wood slice to create the turkey’s tail, then glue them in place.
- Cut a small orange triangle for the beak and a red shape for the wattle.
- Glue the googly eyes, beak, and wattle onto the front of the wood slice.
- Allow the glue to dry before displaying the finished turkey.
Quick Tip: Choose flat wood slices with smooth edges, and have an adult check them before handing them to children.
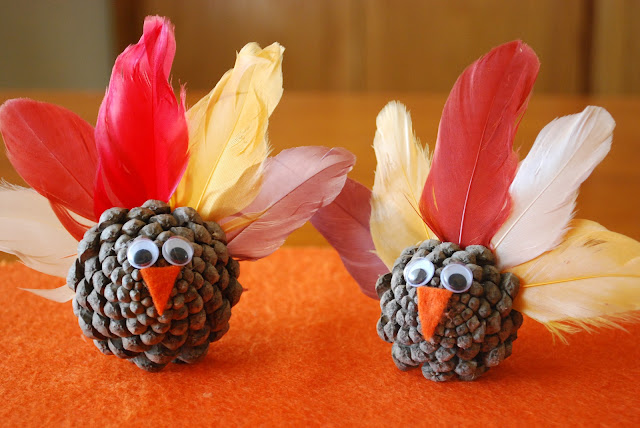
9. Painted Pinecone Turkeys
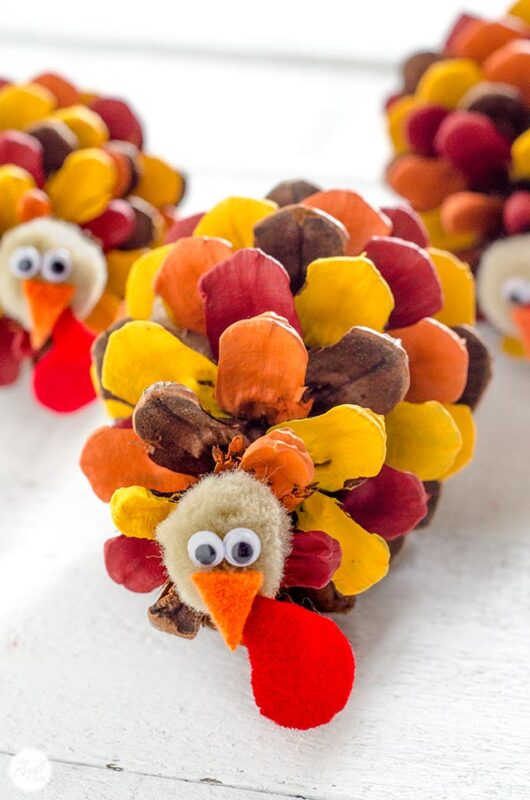
Turn pinecones into tiny Thanksgiving turkeys with bright paint and fluffy pom-pom details.
Children can choose their own colors, giving every bird a different look.
This hands-on craft suits a classroom art station where students enjoy painting natural materials and adding small decorative features.
Display the finished turkeys on desks or along a classroom windowsill for a seasonal touch.
Essential Supplies
Instructions
- Give each child a clean, dry pinecone and let them paint it in their preferred colors.
- Leave the pinecones to dry completely before adding decorations.
- Glue two googly eyes and a small felt triangle onto one end to create the face.
- Attach colorful pom-poms or felt pieces around the back to form the feathers.
- Let the glue set before displaying the finished turkeys.
Quick Tip: Collect pinecones in advance, check for insects, then clean and dry them thoroughly before the classroom activity.
10. Thanksgiving Turkey Treat Buckets
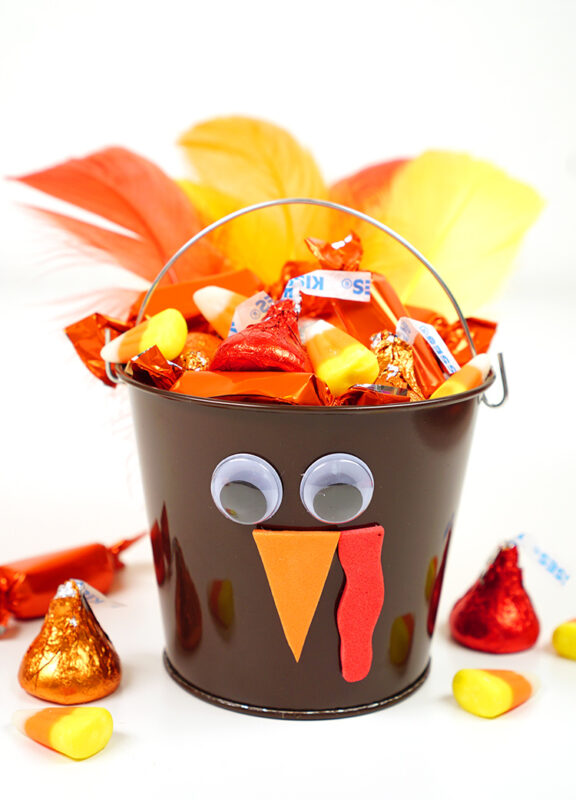
Give each student a little turkey bucket to decorate before the classroom Thanksgiving party.
Small metal pails become festive treat holders with colorful feathers, googly eyes, and a bright foam beak.
Children can personalize their designs, then use the finished buckets for individually wrapped treats or small classroom favors.
Essential Supplies
- Brown 3-inch metal pails
- Assorted turkey feathers
- Adhesive craft foam
- Googly eyes
- Low-temperature glue gun or tacky glue
Instructions
- Give each child a clean metal pail and a selection of craft feathers.
- Attach the feathers around the back of the pail to create a turkey tail.
- Cut a small triangle from orange craft foam for the beak, then add it beneath the googly eyes.
- Glue the facial features onto the front of the pail and allow everything to dry.
- Fill the finished buckets with individually wrapped treats or small party favors.
Quick Tip: Have an adult handle hot glue guns, or choose tacky glue for a more child-friendly classroom activity.
11. Turkey Leaf Craft
Let children turn colorful fall leaves into their own little turkey characters.
Each leaf has a different shape, so students get to experiment with natural patterns as they design their birds.
This easy activity brings an outdoor element into the classroom and encourages children to notice the colors and shapes of autumn leaves.
Essential Supplies
- Colorful real leaves
- Construction papers
- Coloring supplies (I like Crayola Washable Crayons)
- Scissors
- Glue sticks
Instructions
- Collect clean, dry leaves in a variety of shapes and colors.
- Have each child choose a leaf and glue it onto construction paper as the turkey’s body or tail.
- Draw and cut out a small beak, feet, and wattle from construction paper.
- Glue the paper details around the leaf, then draw eyes and any extra features.
- Add the child’s name and display the finished artwork around the classroom.
Quick Tip: Press leaves between sheets of paper under heavy books for a few days to flatten them before crafting.